
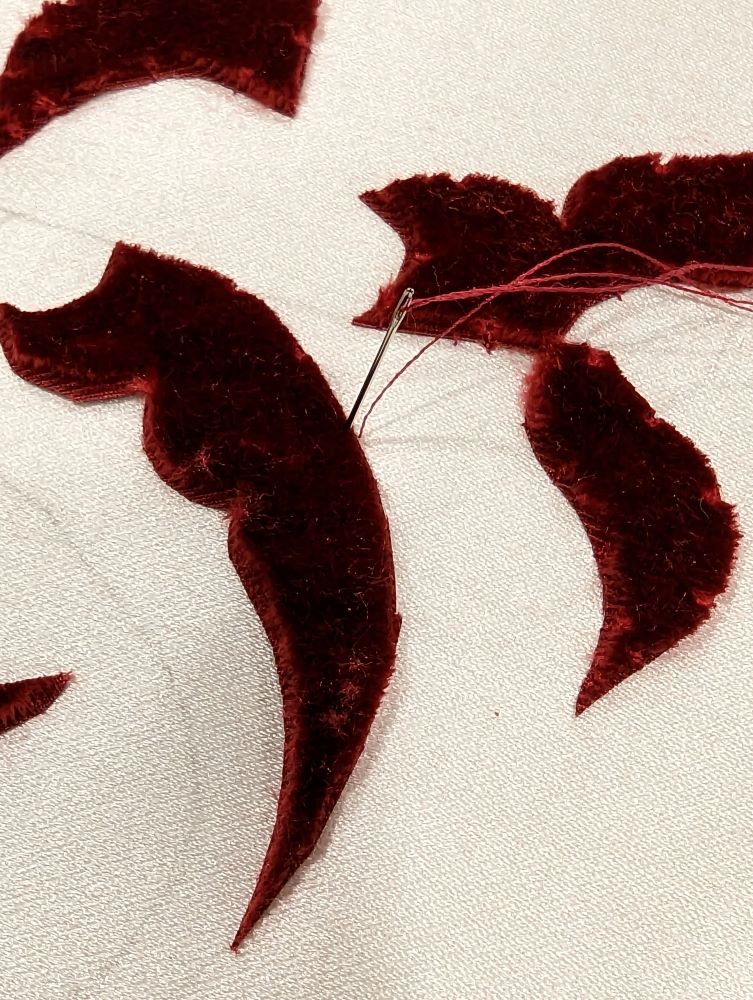
I’m still struggling to find or create a design for the sleeve, so I’ve been working on and off on the cushion. I ran into a bit of a problem at the beginning because the silk thread I had planned to use to attach the velvet shapes gets caught up going through the layer of glue. I tried several types of silk thread that I had on hand and settled on Surfine, a fine twisted silk from AVAS. It goes through the glue beautifully without any stutters. This is very important because this modern silk velvet is not very closely woven so the little tufts tend to loosen and fall out quite easily. It also crushes quite easily and leaves a mark if you have to take out a stitch. I’d love to get my hands on some real 16th century velvet just to get a feel for working with the quality of textile that the Tudor embroiderers were working with – I’m pretty sure it would be denser with a shorter pile but it would likely present a whole set of different challenges.
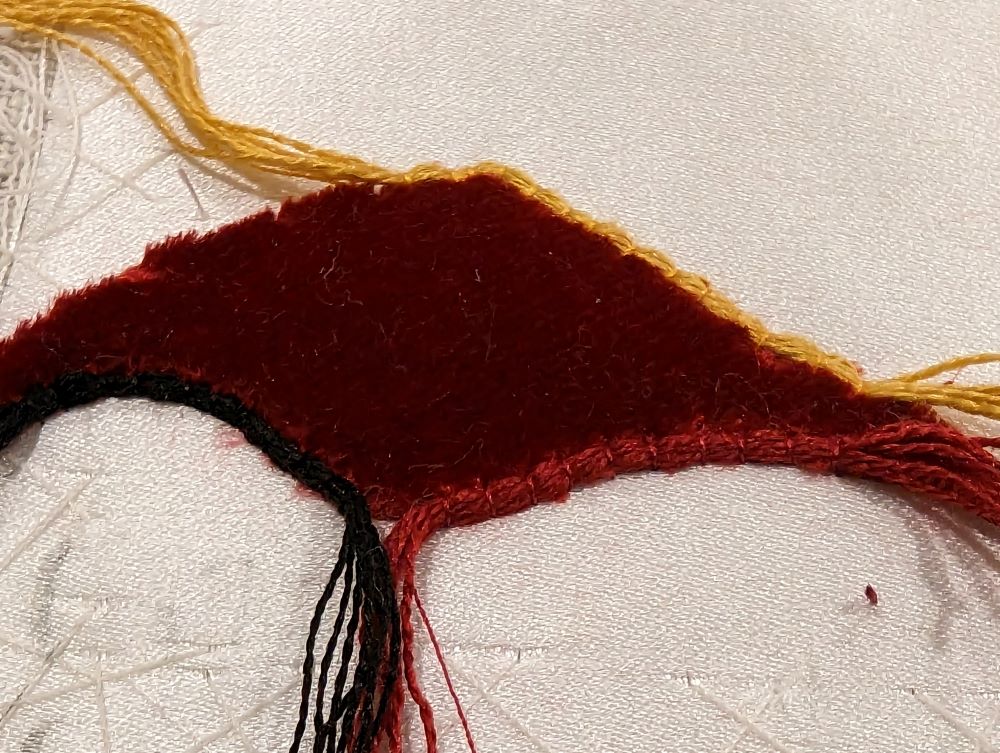
In any case, after securing the shapes for the first motif, I had to decide what colour to outline them in and whether or not to twist the silk. I’ve used twisted silk for appliques in the past and anyone who took the Introduction to Tudor Embroidery Course a couple summers ago, knows it can be a pain. First of all you have to twist upteen yards of silk thread and then you have to sew it down keeping the twist consistent and it takes a lot of practice to make lovely sharp points every time. I was very happy to use the example of the HA panel which is just couched bundles of thread. Sharp points are still a nuisance but it works up much quicker. As for colour, I tried black, crimson to match and a gold colour, and, with some help from a couple of friends who are far more clever about colour than I (thank you Ruth and Natalie!), I settled for the gold. Eight separated strands couched with one of Surfine in the same colour.
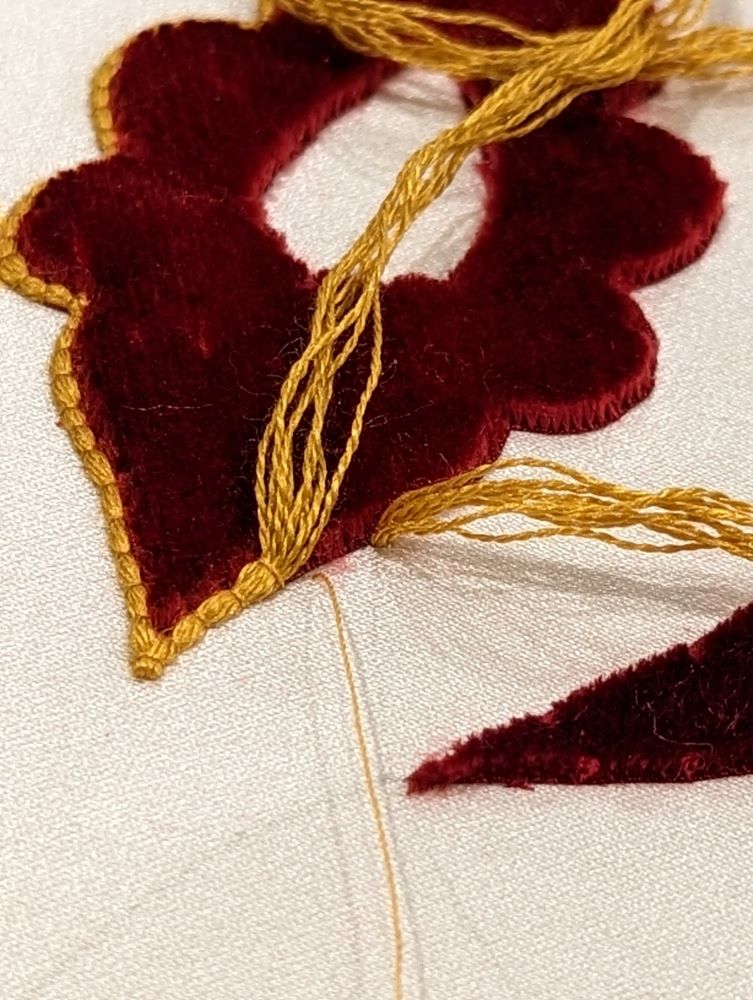
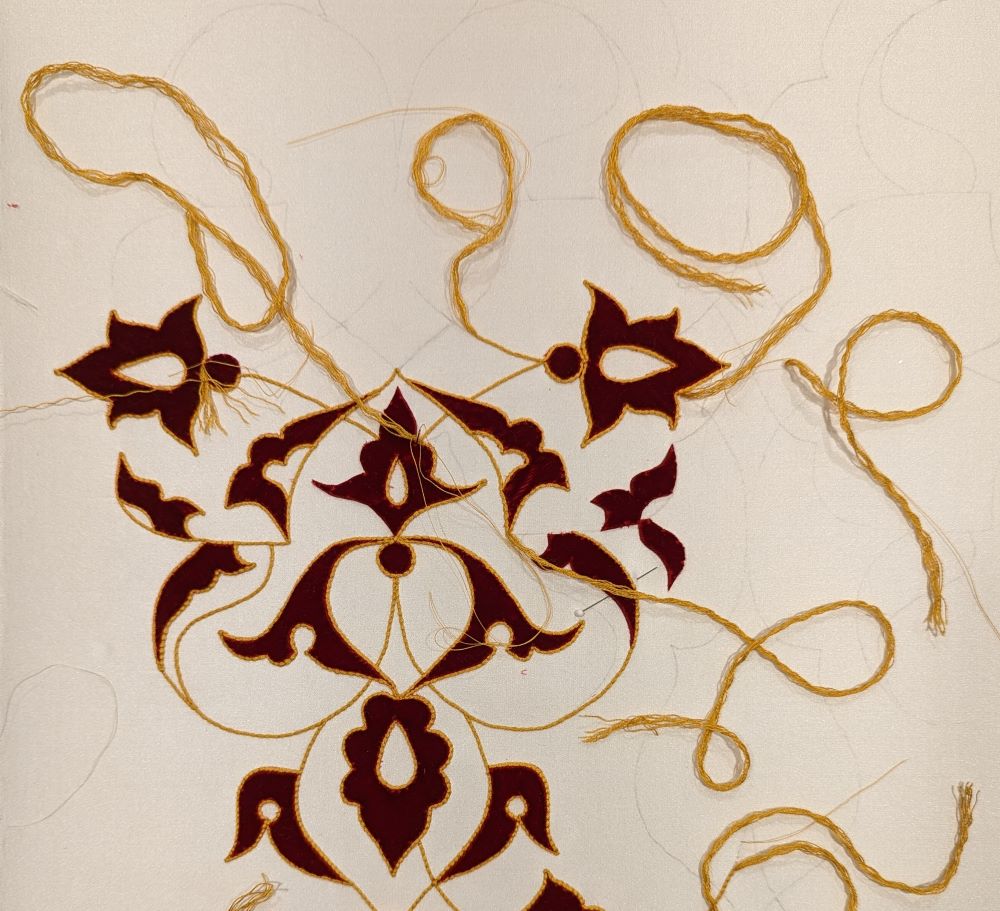
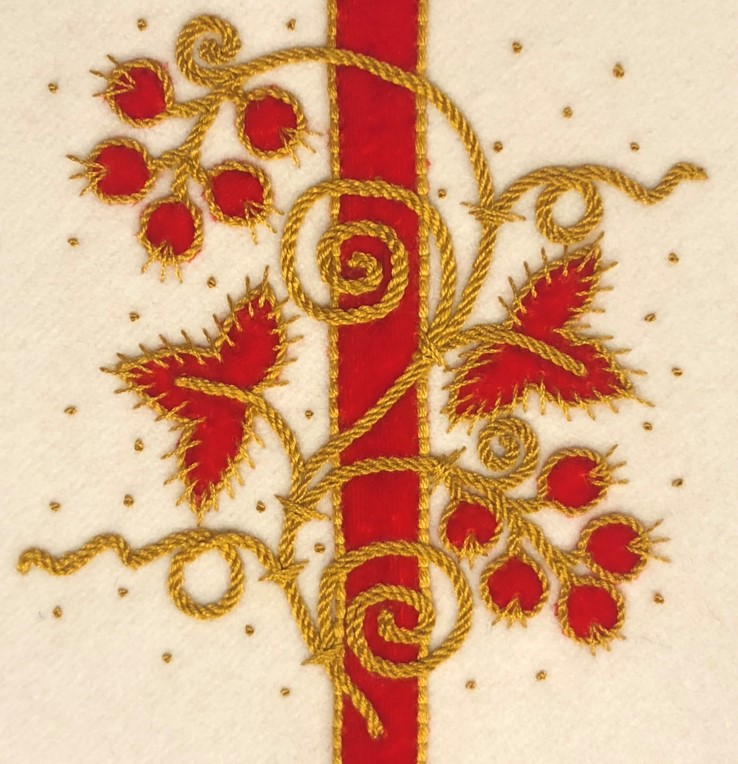
Figuring out where to start and which path to take was the next step. Extant examples of couching often follow a very specific path with as few starts and stops as possible (see the post on Tudor Borders). I tried to see if it was possible on this design but there are too many shapes that have three passes of thread. Once again, the HA panel doesn’t follow a specific path and often two or more bundles of thread are couched together in odd places, seemingly to get to the next section without having to end a bundle only to begin again an inch away. I have started the first section by only couching one bundle throughout. When the outline doesn’t follow a logical path, I start a new bundle and end it when it joins the first. As you can see, this means a lot of starting of new bundles which are a pain to end off because it have to clear my frame and turn it over to secure the ends. So in the spirit of experimentation, I will finish this section as I started but the next section will have doubled bundles and fewer stops and starts – at least that is the theory…
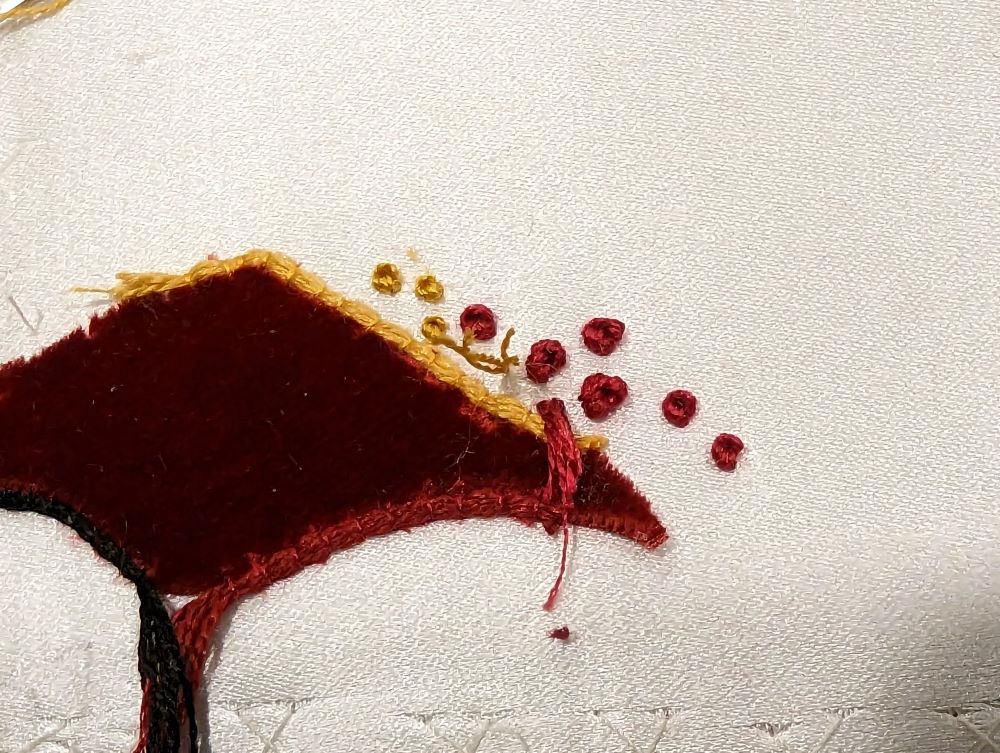

Having almost finished a section, it was time to decide on the size and colour of the little knots. With Mike’s help this time, we decided to start with the red and but they would have to be much smaller than the ones made with the eight strands of the outline. The exact placement and density will be determined as I stitch and when I move on to the next section, I may change the areas that are filled in or, just because I can, I may change the colour to gold, or I may not. I do have to be careful though, once in, the knots can’t be removed because the silk satin is very delicate and the stitches leave marks that don’t disappear!
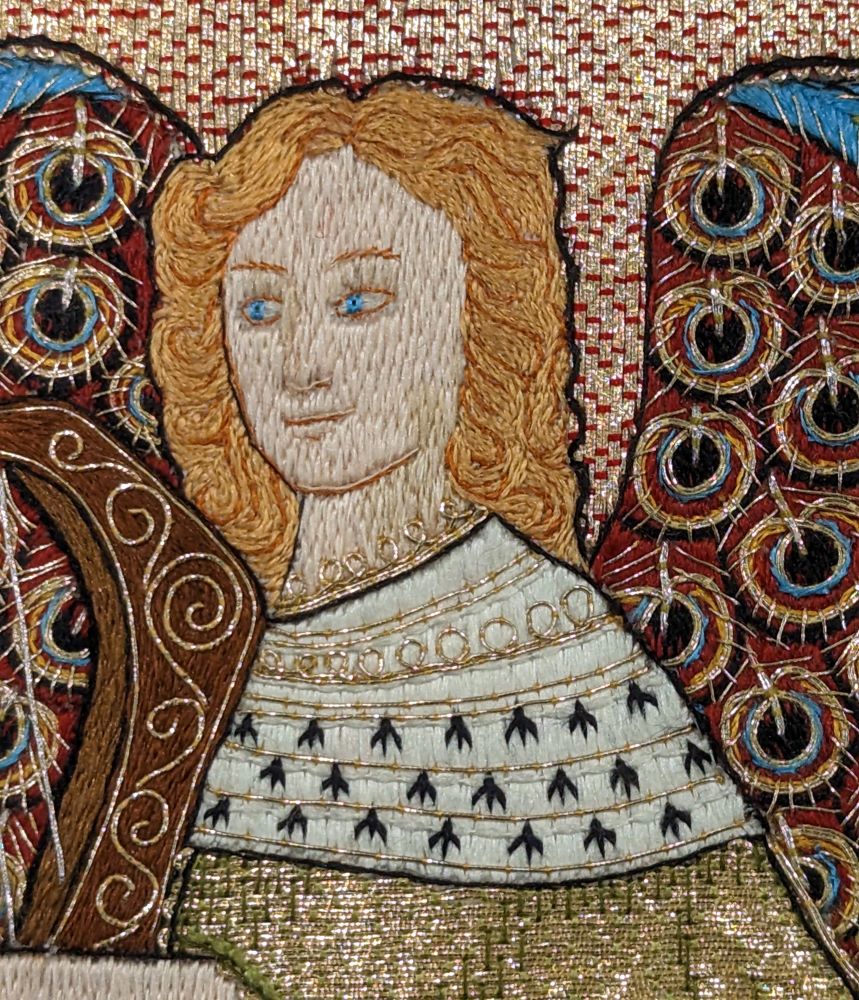
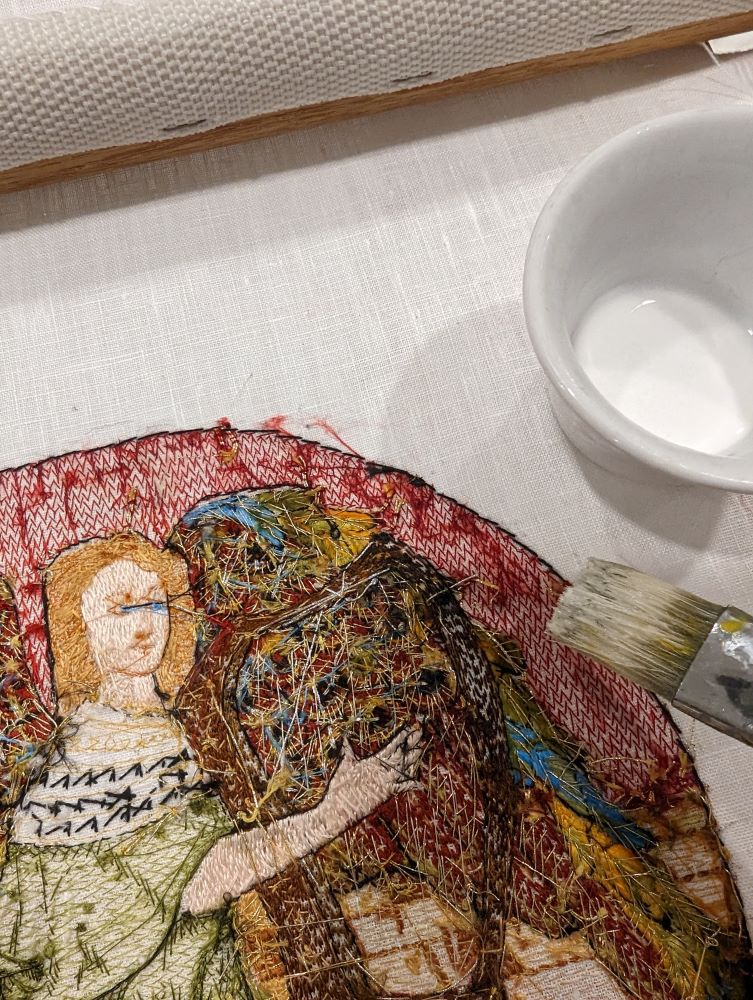
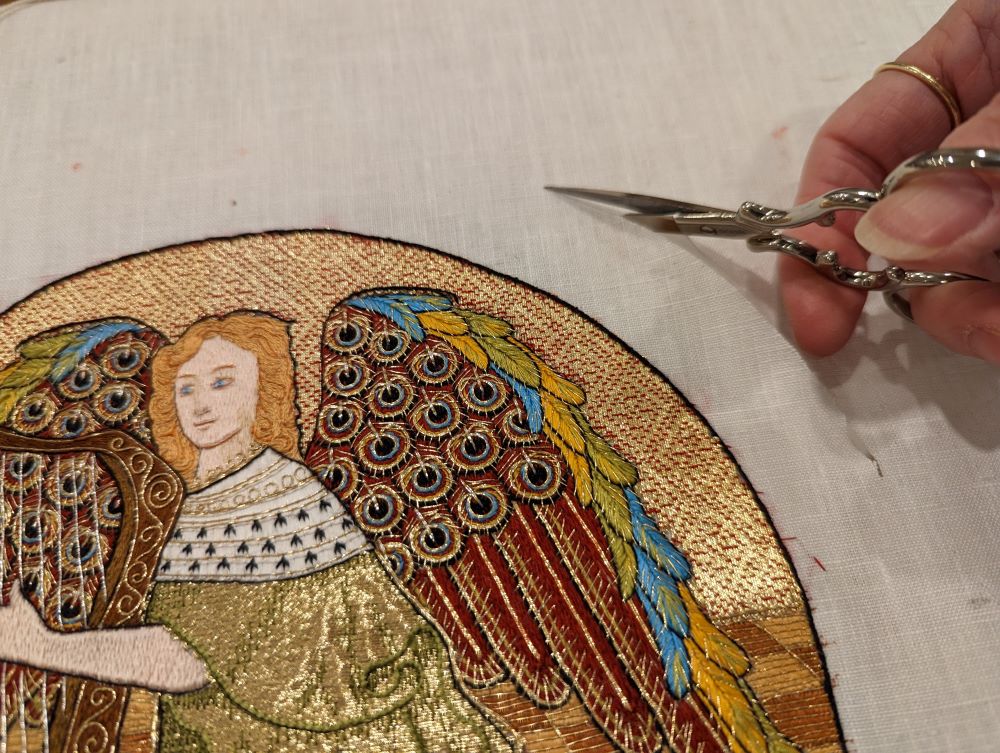
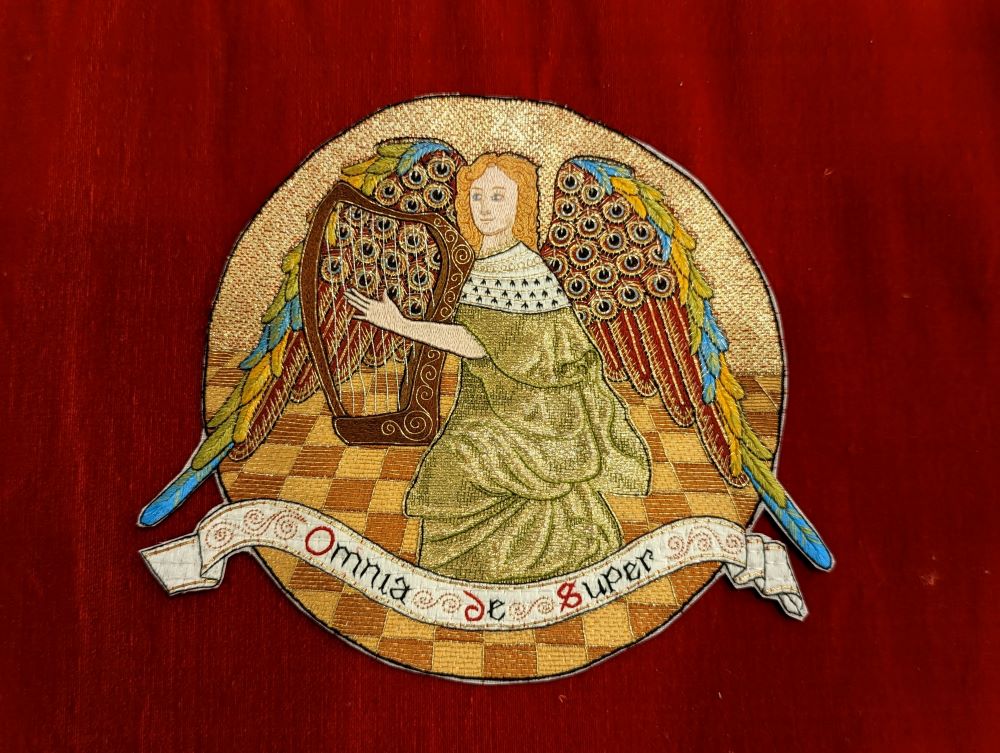
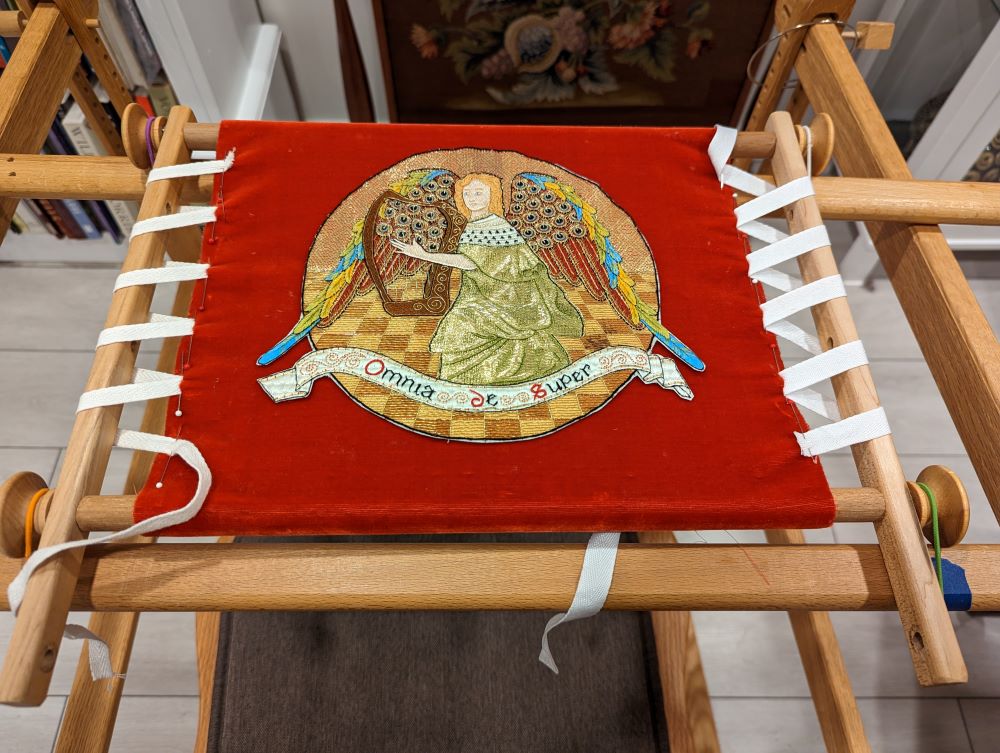
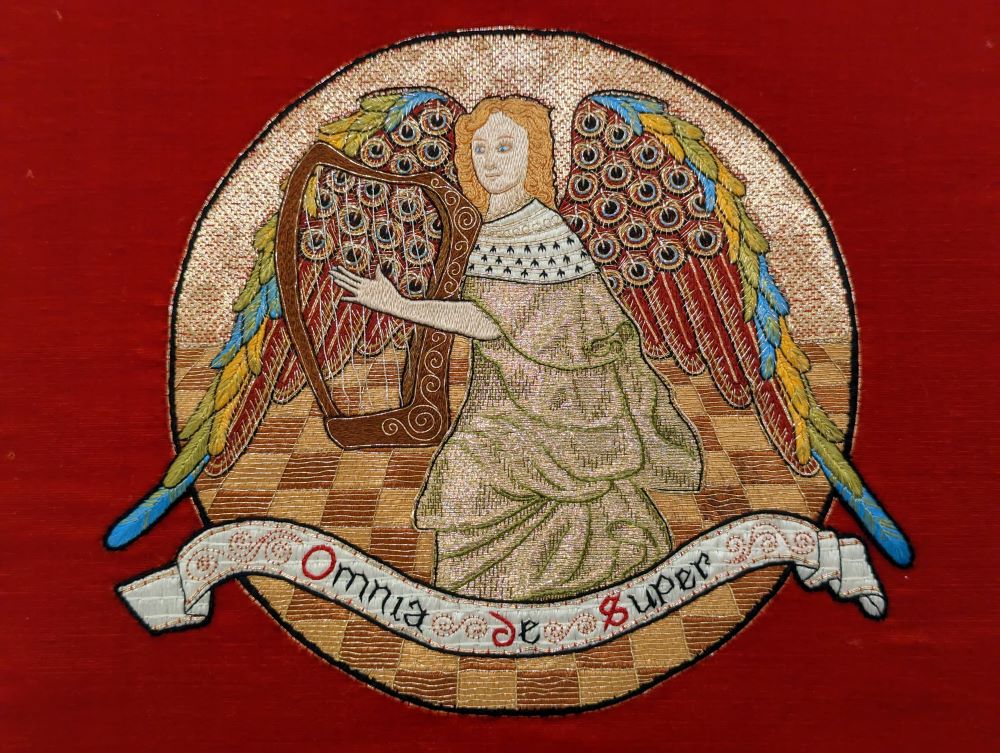
The cushion is the type of project that can be worked on for a while and walked away from without worrying about where to leave off so I’ve been wandering back and forth from frame to frame to drafting table. I finished the angel by adding the gold passing on the tiles and a few stitches in fine black thread to the side of the face. The white expanse of the ermine collar/cape has always seemed unfinished so I added some couched gold. Then I turned it over, glued the back, trimmed it from the linen and sewed it onto a piece of velvet. For the colour of the velvet, I once again relied on assistance from Natalie and Ruth. We looked at many velvet swatches in lovely jewel tones but the scarlet brought out the red in the embroidery and set off the gold very nicely. The circle was outlined with couched black silk in a thick bundle of threads and the scroll was outlined with about half the number of threads in the circle bundle. Then a pair of passing threads were couched with red silk thread just to add a little highlight. It still isn’t finished because it has to be made into something that might have been used in the early 16th century. I think it will become a small banner such as one mentioned in the inventory of one of the livery guilds with a lovely silk fringe, similar to a pulpit hanging you might see in a church today.

Also this week, Challe and I continued our journey through the effigies and we finally found a foresleeve tied with aglets. I also had a second look at Katherine Parr’s portrait and it has loads of embroidery with gold and pearls but with what may be roses instead of acorns and strawberries or honeysuckles. I figured someone must have attempted to reconstruct this amazing dress and indeed there are many images on the web but I haven’t found any dedicated experiments to reconstruct the embroidery so maybe that will be added to the list of possible projects. I just have to find a detailed image of the brushwork, research the likely techniques, draw up the pattern, experiment with threads and pearls and, voila, done in no time – like the angel, still underway and the cushion, still in progress…


The angel looks gorgeous on the red velvet! Next time you are in Paris, go to Ultramod on Rue de Choiseul. I seem to remember that they have the velvet you are after: old stock that’s no longer being produced.
These are really beautiful, thank you for sharing your ideas.
Jo